
Concrete Slabs in Pasco County: Installation Process and What to Expect
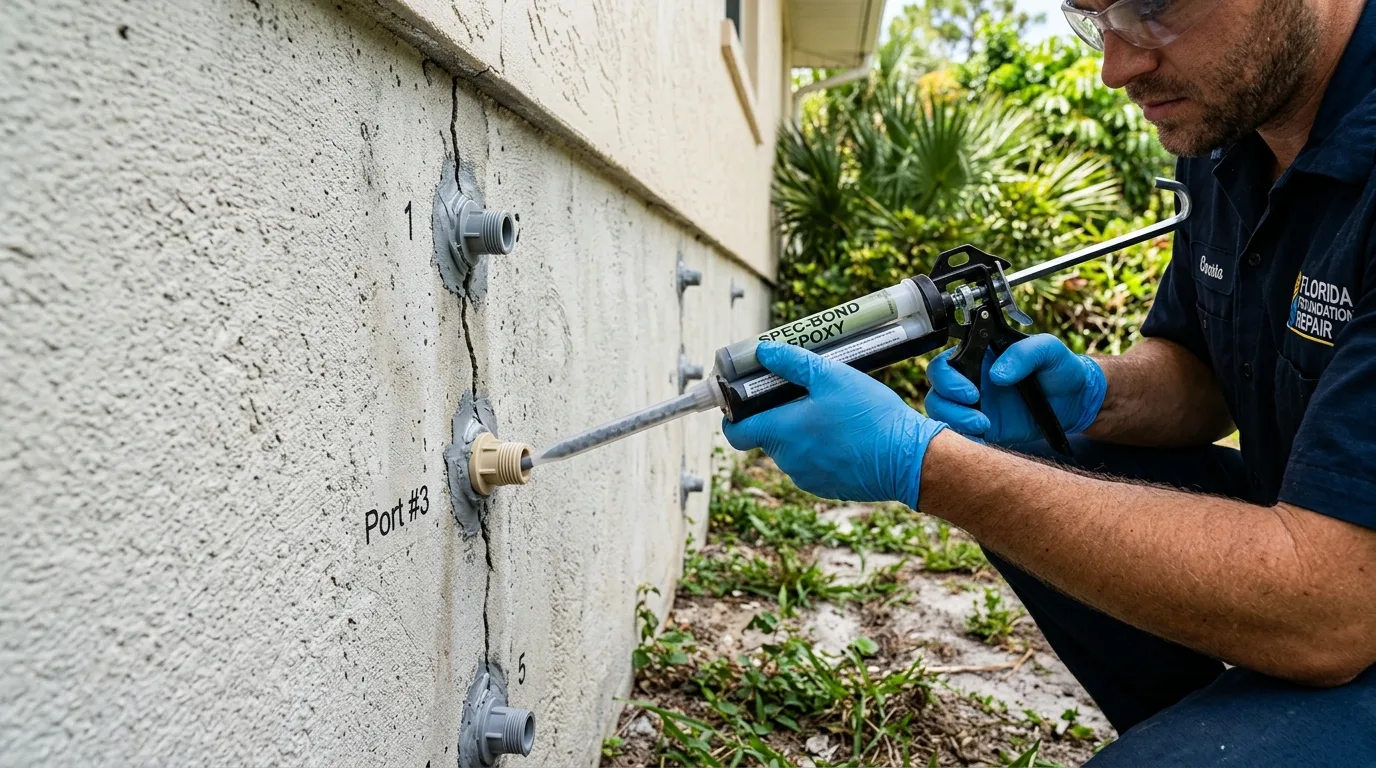
Understanding how a concrete slab is installed helps you make better decisions, ask better questions, and recognize when a contractor is cutting corners. If you’re planning a concrete driveway, patio, or slab in Keystone, FL or anywhere in Pasco County, this guide walks you through the entire process — from the first shovel to the final seal.
Questions About Your Concrete Project?
Keystone Concrete is happy to walk you through every step. Contact us for a free estimate and consultation.
Step 1: Site Assessment and Planning
Before a single tool touches your yard, a professional concrete contractor should assess your site. For Keystone and Pasco County properties, this includes:
- Soil evaluation: Is the soil sandy, clay-bearing, or mixed? Keystone’s soils vary considerably, especially near low-lying areas. Soil type affects base preparation requirements.
- Drainage review: Where does water flow during Keystone’s intense summer storms? Poor drainage planning leads to water pooling at your garage or front entry — a common and avoidable mistake.
- Grade and slope: A properly installed slab slopes slightly away from your home (typically ⅛ to ¼ inch per foot) to direct water away from the foundation.
- Utility location: Before any excavation, your contractor should call 811 (Florida’s free utility marking service) to locate underground utilities.
Step 2: Demolition of the Existing Surface
If you’re replacing an old driveway or patio — whether concrete or asphalt — it needs to be removed first. Demolition involves:
- Breaking up the existing material with a jackhammer or demolition saw
- Loading and hauling the debris away (this should be included in your quote — ask explicitly)
- Inspecting the sub-base once the old material is removed
Old slabs can hide problems: settled areas, root intrusion, drainage issues. A good contractor treats demolition as an inspection opportunity, not just a removal task.
Step 3: Sub-Base Preparation
This is the most critical — and most often shortcut — step in the entire process. In Pasco County, where sandy soils can shift and settle, a well-prepared sub-base is the difference between a slab that lasts 40 years and one that cracks in five.
Sub-base preparation in Keystone typically involves:
- Excavation: Removing 4–8 inches of existing soil to create a stable bed for the concrete
- Grading and compaction: The sub-base is shaped to the correct grade and compacted with a plate compactor or roller
- Base material: In many Keystone installations, a layer of compacted gravel or crushed concrete provides excellent drainage and a stable foundation
- Moisture barrier (in some applications): A polyethylene vapor barrier prevents ground moisture from wicking up into the concrete
Don’t underestimate this step. The number one cause of premature concrete failure is inadequate sub-base preparation.
Step 4: Forming and Layout
Wood or metal forms are set up around the perimeter of the slab to contain the concrete during pouring and establish the final dimensions and edges. For decorative work or curved areas, flexible forms create smooth curves.
Control joints — the lines you see in a finished concrete driveway or patio — are also planned at this stage. Control joints are intentional weak points that guide where the concrete will crack (concrete always cracks; the goal is to control where). For a standard Keystone driveway, control joints are typically placed every 8–12 feet in a grid pattern.
Step 5: Reinforcement Installation
Before concrete is poured, reinforcement is placed inside the forms:
- Fiber reinforcement: Plastic or steel fibers mixed into the concrete itself — adds crack resistance throughout the slab
- Wire mesh: A grid of welded wire placed on supports inside the form — effective and economical
- Rebar: Steel rods placed in a grid — the strongest option, recommended for heavy vehicle use or unstable soils
For most Keystone residential driveways, we recommend at minimum fiber reinforcement in the mix. For properties with heavier vehicles or softer soils, rebar provides significantly better long-term performance. See our guide on decorative concrete options for Florida homes if you’re considering combining reinforcement with a decorative finish.
Ready to Start Your Concrete Project in Pasco County?
We walk every Keystone client through each step. Get a free estimate from Keystone Concrete today.
Step 6: Concrete Pouring
On pour day, the ready-mix concrete truck arrives and the work moves quickly. Florida heat is a critical factor — concrete begins setting faster in hot weather, so:
- Early morning pours are standard in Keystone’s summer months to avoid the peak heat
- Water content is carefully controlled — adding too much water weakens the concrete significantly
- PSI specification: Residential slabs in Florida should use minimum 3,000 PSI concrete; 4,000 PSI is better for longevity
The concrete is poured into the forms, spread with a screed (a long straight board dragged across the top to level the surface), and then floated smooth with a bull float. For more on the best timing for your project, see our guide on the best time to pour concrete in the Tampa Bay area.
Step 7: Finishing
After the initial pour and leveling, the surface is finished to the desired texture:
- Broom finish: A stiff-bristled broom is dragged across the slightly-set concrete, creating a slip-resistant texture — the most common finish in Keystone
- Exposed aggregate: The surface is washed while still wet to expose the stones in the mix
- Stamped concrete: Rubber mats are pressed into the wet concrete to create patterns (brick, slate, stone, etc.) — this step requires quick, coordinated work before the concrete sets
Edges are tooled to create clean, slightly rounded edges that resist chipping.
Step 8: Curing
Curing is the controlled process of keeping the concrete moist as it gains strength. In Keystone’s heat and UV intensity, improper curing is a common cause of surface cracking and reduced strength. Methods include:
- Plastic sheeting covering the surface to trap moisture
- Curing compounds sprayed onto the surface — a liquid that forms a membrane slowing evaporation
- Wet curing (water is periodically applied to keep the surface moist)
Full curing takes 28 days, but the concrete is typically strong enough for foot traffic within 24–48 hours and vehicle traffic within 7 days.
Step 9: Sealing
In Florida’s intense UV environment, sealing your concrete is strongly recommended. A penetrating concrete sealer:
- Repels water and stains
- Reduces UV surface degradation
- Makes cleaning easier
- Should be reapplied every 2–3 years
Read our full guide on why concrete sealing is essential in Florida to understand why this step matters so much in the Tampa Bay climate.
How Long Will My Project Area Be Unavailable?
For a standard Keystone driveway or patio project:
| Phase | Typical Duration |
|---|---|
| Demo & site prep | 1 day |
| Forming & reinforcement | Half day |
| Pour & finishing | 1 day |
| Foot traffic OK | 24–48 hours after pour |
| Vehicle traffic OK | 7 days after pour |
| Full strength reached | 28 days |
Permits for Concrete Slabs in Pasco County
Some concrete projects in Pasco County require permits before work begins. Driveway connections to county roads, structural slabs, and retaining walls over 4 feet are among the common permit triggers. See our complete guide to concrete permits in Pasco County to understand what applies to your project.
Questions to Ask Your Contractor Before They Start
Before work begins, confirm:
- What PSI concrete mix will be used?
- What reinforcement is included?
- How will the sub-base be prepared?
- What finishing and curing method will be used?
- Is sealing included or quoted separately?
- Are permits required, and who is responsible for obtaining them?
Serving Keystone, Odessa, Tampa, Lutz, Wesley Chapel, and the entire Greater Tampa Bay Area.
Get a Free Estimate for Your Pasco County Concrete Project
Keystone Concrete installs concrete the right way — no shortcuts, no surprises. Serving Keystone and all of Pasco County.